Product Photography for Jewelry
Jewelry photography is technically the most demanding product category. A ring is barely an inch wide, has mirror-like metal surfaces that reflect everything in the room, transparent stones that need to glow without blowing out, and fine details — prong settings, engraving, surface texture — that buyers need to see clearly before committing to a purchase.
The difference between a jewelry photo that converts and one that doesn't comes down to three variables: how light interacts with the metal, whether the stone's color is accurately reproduced, and whether the buyer gets a sense of scale and craftsmanship. Get these right and a simple ring shot looks expensive. Get them wrong and a $2,000 piece looks like costume jewelry.
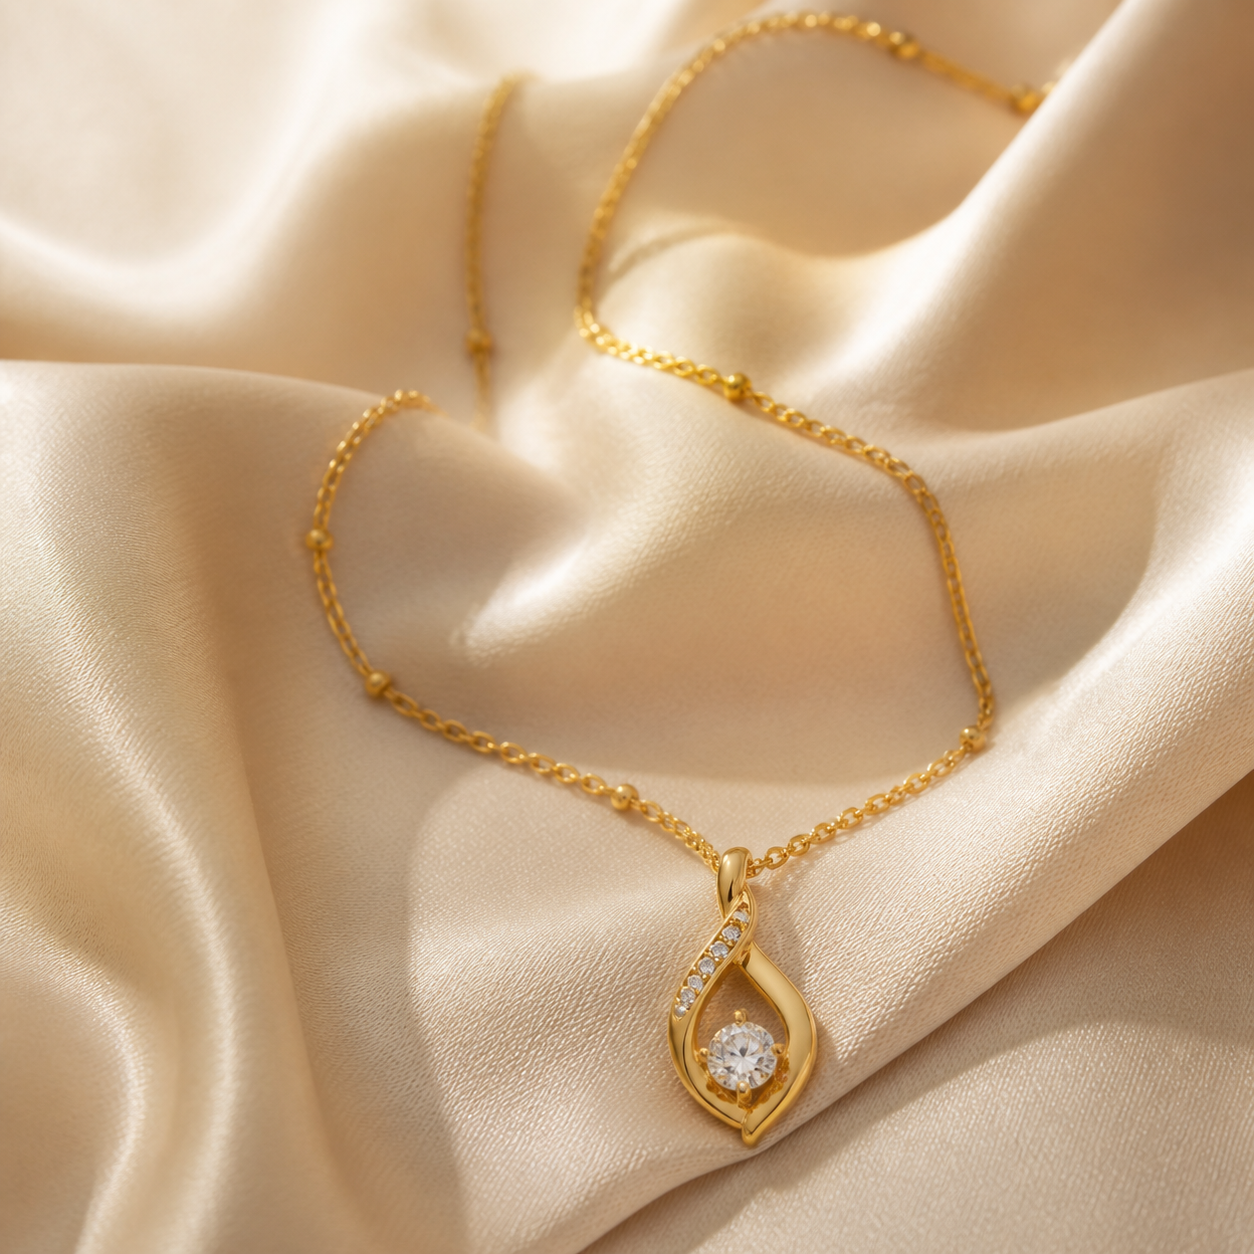
6 tips for jewelry product photography
Diffuse every light source
Jewelry metal is essentially a mirror — it reflects the camera, the photographer, and every undiffused light in the room. Wrap light sources in diffusion material (a foam tent, tracing paper over a window, or a commercial softbox) to replace harsh point sources with large, soft light that wraps around metal curves without creating blown-out specular spots.
Choose matte, neutral backgrounds
Matte surfaces — cream silk, velvet, matte ceramic, unpolished marble — absorb light instead of reflecting it, preventing background reflections from appearing in the metal surface. Neutral tones (white, cream, warm gray) let the metal and stones carry the image without visual competition. Avoid glossy surfaces unless a deliberate reflection effect is the goal.
Always show scale
Buyers cannot judge ring size, bracelet width, or chain length from a floating product shot. Show scale deliberately: place the piece on a finger, beside a coin, or on fabric with visible weave. Scale shots dramatically reduce returns and size-related customer questions — and directly improve your seller ratings over time.
Shoot two angles minimum
A flat top-down shot shows the stone face and overall layout. A 45-degree three-quarter angle reveals the band profile, height, and how the piece sits when worn. These two angles together answer the buyer's most common visual questions without requiring them to message the seller before purchasing.
Use a macro lens and tripod
At jewelry scale, hand-holding introduces blur that ruins fine-detail shots. A tripod and remote shutter release eliminate camera shake at the moment of exposure. A dedicated macro lens — 50mm or 100mm — fills the frame with a ring without the edge distortion that kit lenses produce at their closest focus distance.
Clean obsessively before every shot
Fingerprints and skin oils are invisible to the naked eye but appear as milky hazing under macro glass. Wipe every surface with a clean microfiber cloth before each setup. Inspect with a jeweler's loupe if possible. One minute of cleaning prevents hours of retouching in post.
Equipment and setup for jewelry photography
Camera: DSLR or mirrorless with a macro lens (Canon EF 100mm f/2.8L, Sony FE 90mm, Nikon 105mm). Lighting: one diffusion tent with a single LED panel at the top gives the most controllable results. Backgrounds: matte ceramic tiles, cream silk, velvet. A tripod is essential — hand-holding at macro distances is not viable for sharp results.
Common mistakes to avoid
- Hard undiffused flash — creates blinding specular highlights on metal that no amount of post-processing can recover. Always diffuse the light source.
- Single-angle shots — one flat top-down view doesn't show the piece in three dimensions. Buyers need depth and profile to understand what they're buying.
- Skipping cleaning — oils from handling create haze that reads as a product defect. Clean before every shot, every time, without exception.
Styles that work for jewelry
In noprompt.design, start with: Warm Minimalist, Marble Luxury, Clean White Studio. Each style is pre-tuned for this product category — no settings to adjust.
Try it free — upload your jewelry product now
Frequently asked questions
What background is best for jewelry photos?
Matte, neutral surfaces work best — velvet, cream silk, matte ceramic, or unpolished marble. They absorb light rather than reflecting it, which prevents background reflections from appearing in the metal. Velvet is especially effective for high-end pieces because it grips the jewelry in place and adds a luxury-retail aesthetic.
How do I avoid glare on gold and silver?
Replace any hard point light with a large, soft source. A diffusion tent, a window with a sheer curtain, or a commercial softbox all work. The physics: larger light source relative to the subject equals softer reflections. Soft reflections on metal look expensive; hard specular spots look cheap regardless of the actual product quality.
Do I need a macro lens for jewelry photography?
For professional results, yes. A dedicated macro lens lets you fill the frame with a ring without distortion. Kit lenses can work at their closest focus distance, but you'll lose corner sharpness and get more barrel distortion. The 100mm focal length is standard — long enough to work without crowding the piece and changing the light.
How do I make a diamond sparkle in photos?
Diamonds need a point light source to produce fire and sparkle. Use a small, intense LED at close range as your key light, with soft fill from a diffusion panel. The contrast between bright sparkle points and the surrounding shadow is what makes diamonds photograph beautifully. Diffuse-only lighting makes diamonds look flat and glassy.
Can I take professional jewelry product photos without a camera?
Yes — jewelry is demanding but very achievable with a phone. Work near a large window with the light diffused through a sheer curtain so the reflections on metal stay soft, place the piece on a matte surface (velvet, cream silk or unpolished marble) so nothing glossy reflects into the metal, and prop up a piece of white card just out of frame to fill the shadow side. Clean the piece first — fingerprints show up as milky haze even on a phone. For consistent studio-lit results across a whole catalog — clean backgrounds, controlled reflections, sharp detail on every piece — AI product photography tools like noprompt.design turn an ordinary phone photo of a ring, necklace or earring into a professional jewelry product image without writing a single prompt.
How do I photograph jewelry for an online store?
Jewelry buyers decide on detail and trust, so give them both: lead with a clean hero shot of the piece on a consistent matte background, add a 45-degree angle shot that shows the band or setting profile, and include a scale shot — on a finger, beside a coin, or on fabric with visible weave — since size anxiety is the biggest reason jewelry shoppers hesitate. Show the hallmark or clasp detail in one macro shot so buyers can verify metal quality. Etsy and handmade buyers expect an honest, natural look with a consistent styling story; Amazon listings need the piece on a clean white background with the metal color accurate; and a Shopify or DTC store should keep one background across every SKU so the catalog reads as a brand rather than a reseller.
How do I edit jewelry product photos to look professional?
Edit for accuracy before polish — metal color and stone color are the two things buyers judge, and both are easy to destroy. Set white balance so yellow gold looks warm rather than brassy, white gold and silver stay neutral rather than blue or grey, and stone colors are true to life. Remove dust, fingerprints and stray specular spots from the metal, and clone out any reflection of the camera or room that survived the shoot. Keep backgrounds clean and consistent, and resist over-brightening: metal that is blown out to pure white reads as cheap no matter how expensive the piece actually is.
What equipment do I need to photograph jewelry at home?
You don't need a full studio. The core kit is a macro lens (or a phone with close-focus mode and a clip-on macro), a tripod or phone clamp, a diffuser — a foam light tent, or tracing paper taped over a window or lamp — one adjustable LED panel, a matte neutral surface for the base, and a sheet of white card as a fill reflector. Add a small, bright point light if you shoot diamonds: they need a tight source to sparkle rather than flat diffusion. The whole setup commonly costs under $200, and the light tent plus tripod will improve your images more than any lens upgrade. What you should avoid is bare on-camera flash, which puts a hard specular hot spot on metal that no amount of editing can recover.
How do I photograph jewelry on a white background for Amazon, Etsy or Shopify listings?
For a marketplace main image you need a pure white background and nothing else in frame. Shoot against a white sweep, or light the background separately until it clips to white, then check the actual pixels: Amazon requires the lead image on pure RGB 255,255,255 with the piece filling roughly 85% of the frame — no props, no shadow, no text or watermarks. Etsy and Shopify allow more styling, so keep one consistent hero shot of the piece on a single matte background for the catalog, and use the clean white-background version as the lead listing image. Photograph every SKU at the same angle and light so the grid reads as a brand rather than a reseller, and always re-check metal color after removing the background — cutout tools are notorious for turning yellow gold brassy and white gold or silver grey.
Related deep-dive: Best background for product photos — matte, neutral surfaces are what keep metal and stone color looking true.
Related guide: Handmade & Craft Product Photography — small-batch makers photographing one-off pieces with the same eye for detail.