Product Photography for Ceramics & Pottery
Ceramics photography is fundamentally about communicating materiality. The buyer who chooses a handmade ceramic mug over a mass-produced one is paying for the specific material experience — the weight of the clay, the depth of the glaze, the imperfections that prove it came from someone's hands. Photography that fails to communicate this material quality fails to justify the premium that ceramics command.
The challenge is that ceramics have complex, light-dependent surfaces. A matte celadon glaze looks completely different under warm light versus cool light. An iron-spot tenmoku glaze needs raking light to show its crystalline structure. Understanding how different glaze types interact with light — and choosing the light that reveals each piece at its best — is the central technical skill in ceramics photography.
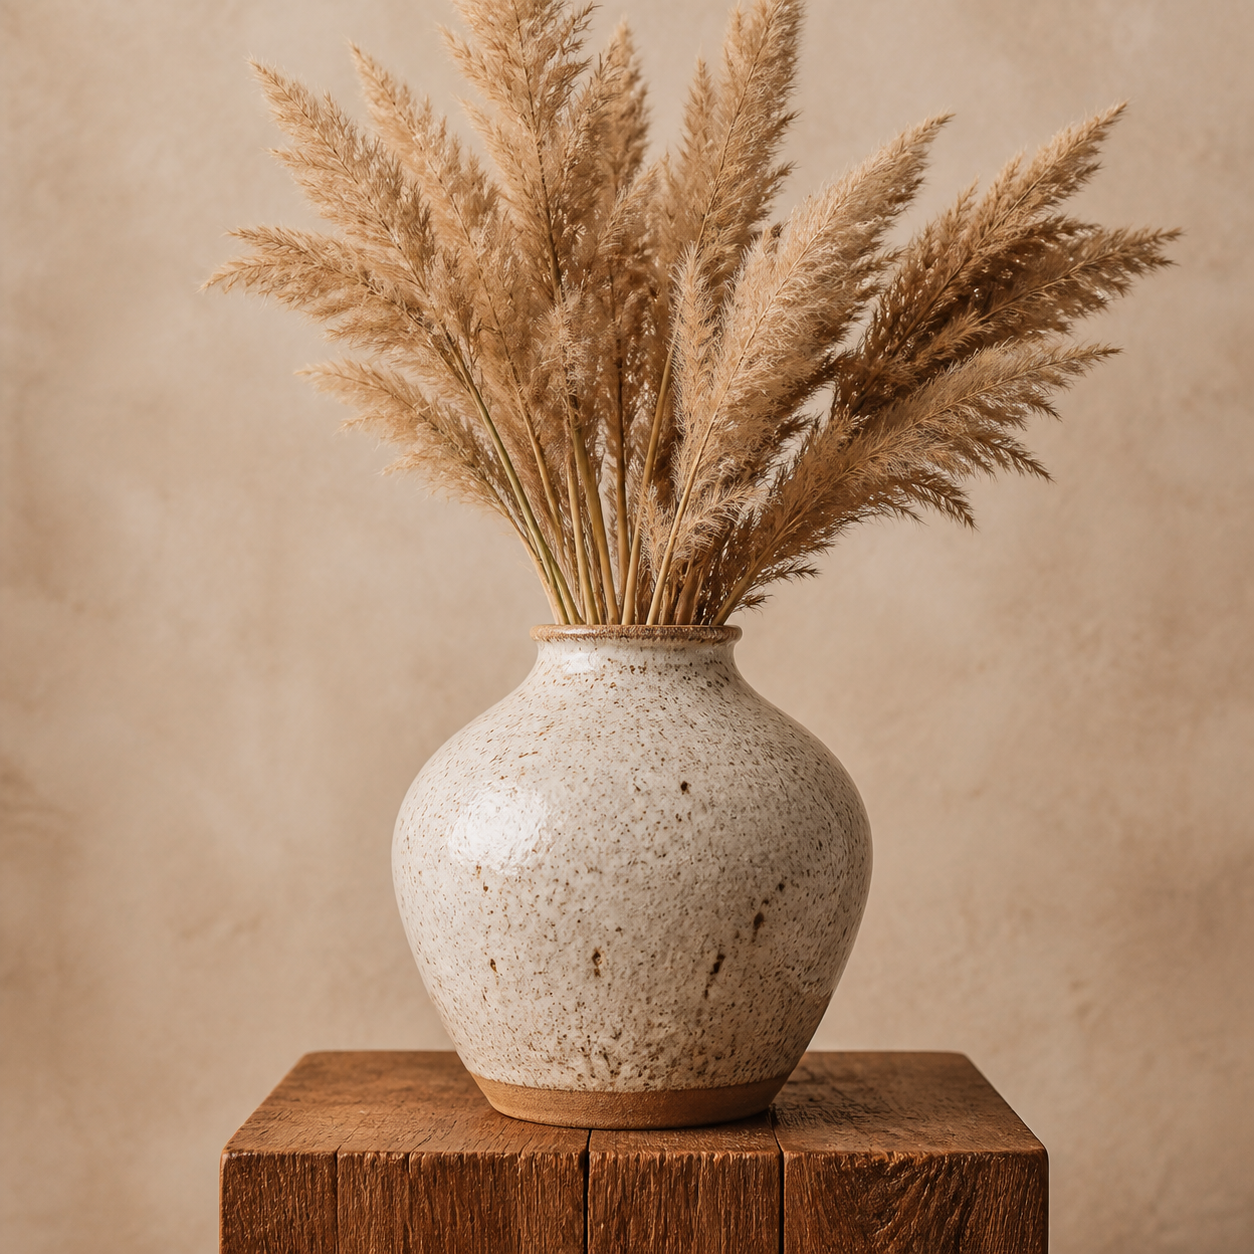
6 tips for ceramics & pottery product photography
Warm side light reveals glaze depth and texture
Ceramic glazes have a three-dimensional quality — depth, movement, variation — that flat front light completely hides. Side light (a source placed 90 degrees from the camera, at or slightly above product level) rakes across the surface and reveals the glaze's depth, the texture of the clay, and the dimensional quality of the work. This is the most important lighting technique in ceramics photography.
Show the interior as well as the exterior
Ceramics buyers — especially for bowls, cups, and vases — want to see the interior as much as the exterior. The inside of a ceramic piece often has beautiful glaze flow patterns, a different clay color visible at the rim, or a texture that differs from the outside. Include an angled interior shot in every ceramics listing.
Use natural materials as props
Dried grasses, linen, raw wood, pebbles, and natural fiber rope share the material language of ceramics. They reinforce the handmade, natural quality of the work without competing with it. Avoid synthetic props, plastic, or anything that reads as mass-produced beside handmade ceramic work.
Detail shots sell the craft
Close-up shots of rim detail, foot ring, glaze transition zones, and any texture or surface detail justify the price of handmade work. A bowl with a beautiful iron-spot glaze has a story that only a close-up can tell. For collectors and serious buyers, detail shots are often the most important images in a listing.
Show scale with a relevant reference
A ceramic mug that looks normal-sized in a product shot might be a giant 600ml traveler's mug or a tiny 150ml espresso cup. Show scale with a hand, with familiar objects (a book, a coin), or with the product in use (filled with a beverage, with a plant in a vase). Scale errors generate returns in ceramics sales more than almost any other issue.
Photograph on a surface that complements the glaze
For a warm earthy stoneware piece, a weathered wood surface complements rather than competes. For clean white porcelain, white marble or linen keeps focus on the form. For a dark dramatic reduction glaze, dark linen or concrete provides contrast without competing. The surface is a choice that affects the entire narrative of the piece.
Equipment and setup for ceramics & pottery photography
Camera: 50mm prime for a natural, undistorted view of ceramic forms. Lighting: a large softbox placed to the side (not front) to reveal glaze depth; a small reflector card on the shadow side to fill. For matte glazes, this setup is ideal. For shiny glazes, reduce front fill and let the side light create more dramatic shadows. Backgrounds: wood boards, linen fabric, concrete.
Common mistakes to avoid
- Front flat lighting — it hides glaze depth and texture, making handmade ceramics look mass-produced. Side light is almost always better for revealing what makes each piece special.
- Showing exterior only — the interior of bowls, cups, and vases is often the piece's most beautiful and distinctive feature. Always include interior shots in ceramic listings.
- Scale omission — a 200ml cup and a 600ml mug look similar without reference. Always include a scale indicator of some kind.
Styles that work for ceramics & pottery
In noprompt.design, start with: Rustic Artisan, Warm Neutral Lifestyle, Natural Light Window. Each style is pre-tuned for this product category — no settings to adjust.
Try it free — upload your ceramics & pottery product now
Frequently asked questions
What lighting reveals ceramic glaze best?
Side light — a source placed 90 degrees from the camera and at or near product level — rakes across the glaze surface and reveals depth, movement, and texture. Front lighting flattens the very qualities that make handmade glazes beautiful. For crystalline and metallic glazes that have sparkle, a small point light source from slightly above adds the specular dimension that makes those glazes special.
How do I photograph shiny glazed ceramics without glare?
Control the light sources visible to the glaze: use one large softbox rather than multiple small lights, and position it so its reflection falls in an expected, non-distracting place on the piece. Black reflector cards placed out of frame but visible in the shiny glaze can replace ceiling and room reflections with clean dark areas that reveal the glaze color accurately.
What backgrounds work for ceramics?
Raw wood is the most versatile — it shares the natural material language of clay and complements most glaze colors. Concrete suits industrial and soda-fired aesthetics. Light linen works for clean porcelain and white stoneware. Dark backgrounds suit dark glazes. Avoid white foam core as a surface — it reads as temporary and cheap beside ceramic work.
How do I make a handmade ceramic look worth its price?
Show the craft evidence: the glaze variation, the slight irregularity of the rim, the hand-pulled form. These are features, not flaws, in the handmade market. Warm side light that reveals glaze depth, a close-up detail shot of the surface quality, and a scale reference that communicates the piece's heft and presence together tell the story that justifies a handmade price premium.
Can I take professional ceramics product photos without a camera?
Yes — the camera is no longer the bottleneck. What sells ceramics is glaze depth, texture, and craft evidence, not sensor size: a modern phone at 2x zoom in warm window light, shot slightly above the piece with the light raking from the side, captures everything a buyer needs to feel the material. For consistent studio-grade results across a whole catalog, AI product photography tools like noprompt.design turn an ordinary phone photo of a mug, bowl, or vase into a clean, professionally lit ceramic product image without writing a single prompt.
How do I photograph ceramics for Etsy?
Etsy ceramic buyers are buying handmade, so honesty and warmth beat sterile studio looks. Shoot in warm natural window light with the source raking from the side to reveal glaze depth, on a consistent surface (raw wood, linen, or concrete) so your shop reads as one brand. Include at least one interior shot for bowls, cups, and vases, plus a detail close-up of the glaze and a scale reference — those three images answer the questions handmade buyers actually ask before purchase.
How do I edit ceramics product photos to look professional?
Edit for texture and warmth, not drama. Keep the glaze's natural variation — over-smoothing is what makes ceramic photos look mass-produced and fake. Lift shadows gently to preserve detail in dark and reduction glazes, warm the color temperature slightly (a 4000-5000K default suits most stoneware and porcelain), and keep backgrounds consistent and natural across the listing. Never remove the craft evidence — glaze transitions, rim irregularities, and surface character are the features that justify a handmade price.