Product Photography for Automotive & Parts
Automotive product photography operates in a category where buyers are deeply knowledgeable about what they're evaluating. A car enthusiast looking at brake calipers, a dash cam, or floor mats knows exactly what build quality looks like and will spot a mediocre product from the photography — not from the product itself, but from how it photographs. Poor lighting, cheap-looking backgrounds, or amateur compositions unconsciously signal 'aftermarket quality' even when the product is excellent.
The visual language of premium automotive photography is borrowed from aerospace and defense: dark, textured surfaces; precision rim lighting that reveals machined edges; clean, uncluttered compositions that communicate engineering focus rather than consumer marketing.
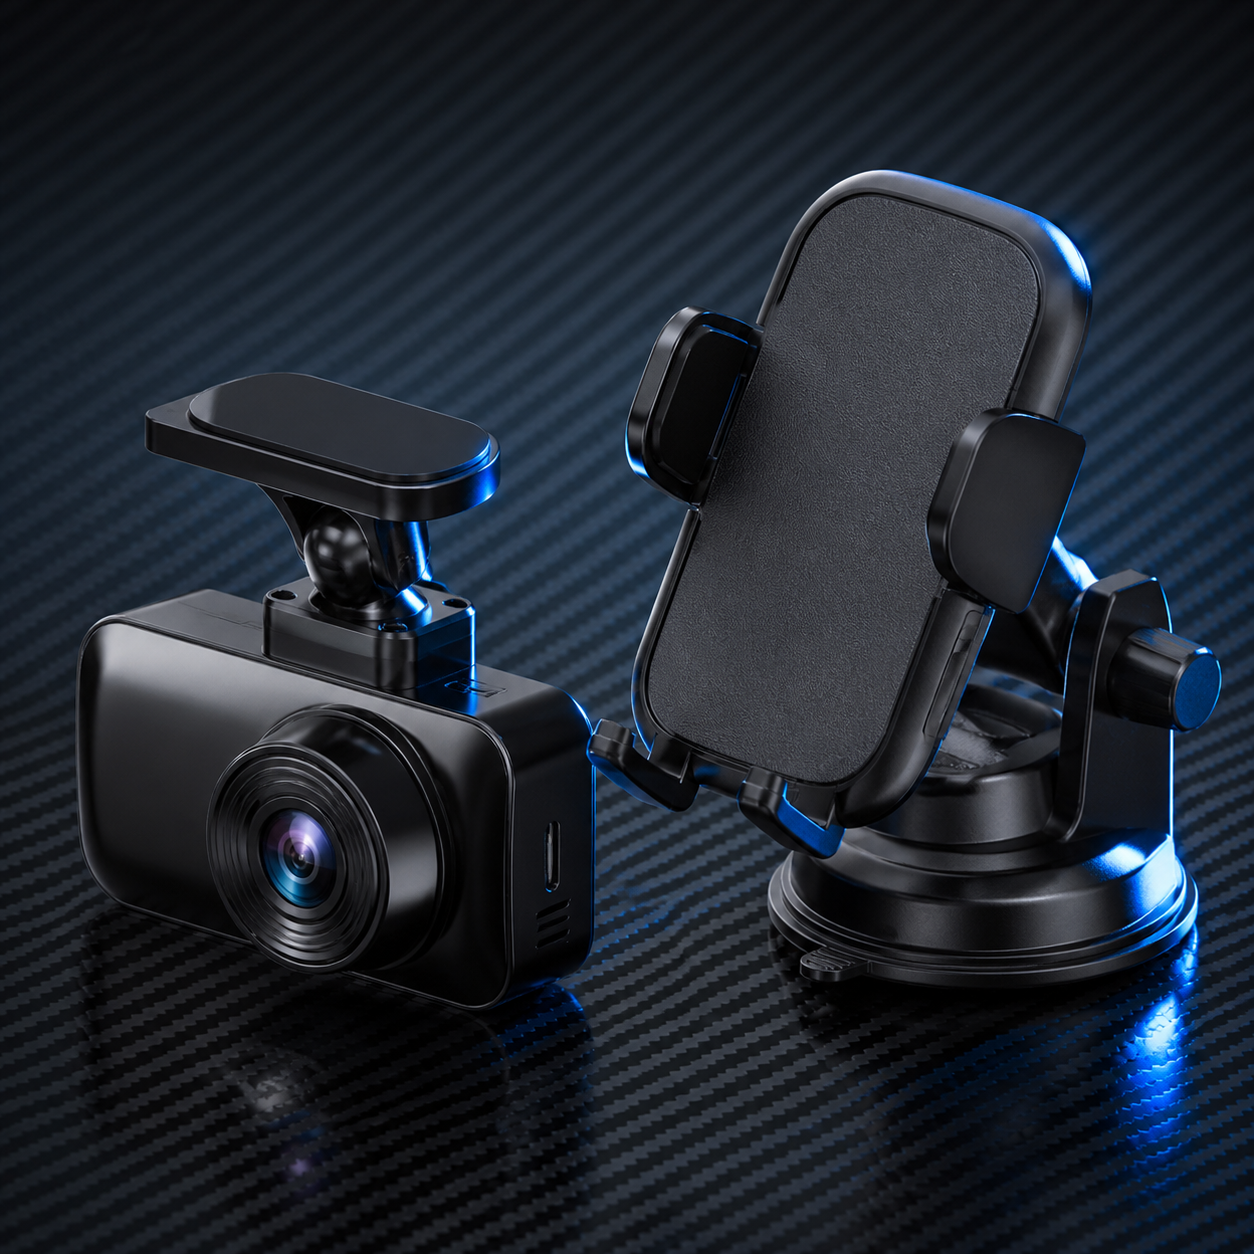
6 tips for automotive & parts product photography
Use dark, textured surfaces that echo automotive materials
Carbon fiber patterns, matte black surfaces, dark rubber, raw aluminum, and dark concrete all speak the same material language as automotive products. They tell the buyer visually that this product belongs in the same environment as the car it's for. Avoid anything that reads as consumer — wood, linen, white studio backgrounds.
Rim lighting reveals precision and build quality
A thin strip LED placed behind the product, slightly to the side, creates an edge highlight that traces the product's contours with precision. This technique is used in watch, aerospace, and high-end electronics photography because it makes machined surfaces look exactly as they are — precise and intentional. It's the signature technique for premium automotive parts.
Shoot clean and uncluttered compositions
Automotive buyers respond to precision and focus. A single product on a dark surface with precise lighting says 'engineered.' Multiple products, complex styling, and busy compositions say 'retail.' For premium parts and accessories, simplicity is a quality signal. One product, one surface, precise light.
Show fitment context for interior accessories
For products that install in or on a vehicle — dash cams, phone mounts, floor mats — a shot in the intended location is often more valuable than the product alone. Buyers want to see how it will look installed, not just how it looks out of the box. A convincing in-car shot can be the decisive image in a listing.
Use close-ups to show build quality details
Connector quality, material thickness, stitching, machined surfaces, and finish quality are the details automotive buyers evaluate. A close-up shot of the specific detail that differentiates your product from cheaper alternatives builds confidence that wider shots cannot. Show the heavy-gauge wire, solid aluminum bracket, or double-stitched seam.
Cool color temperature signals precision and technology
Blue-white light (6000-6500K) reads as technical, precise, and performance-focused — the same visual language used by electronics brands and aerospace manufacturers. Warm light reads as craft and artisan, which may not match what an automotive buyer expects from a performance product.
Equipment and setup for automotive & parts photography
Camera: 50-85mm prime for controlled perspective. Lighting: two LED panels — a key light slightly above, and a strip LED behind the product for rim light. Both should be daylight-balanced or slightly cool (5500-6500K). Backgrounds: dark grey or black fabric, carbon fiber vinyl, dark concrete. A macro lens or extension tubes for connector and detail close-ups.
Common mistakes to avoid
- White or consumer backgrounds — they make automotive products look like retail consumer goods rather than precision engineered components to knowledgeable buyers.
- Soft, warm, undirected light — it hides the machined edges and surface quality that are the primary build quality indicators for automotive buyers.
- Missing fitment context — buyers of installation products need to see the product in the installation location. A product-only shot for a dash cam or floor mat is incomplete.
Styles that work for automotive & parts
In noprompt.design, start with: Gradient Tech, Neon Dark, Clean White Studio. Each style is pre-tuned for this product category — no settings to adjust.
Try it free — upload your automotive & parts product now
Frequently asked questions
What background works for car accessories?
Dark, textured surfaces: matte black, carbon fiber vinyl, dark grey concrete, raw aluminum. These materials echo the inside of a vehicle and communicate that the product belongs in that environment. Avoid wood, linen, white, or pastel — they read as consumer lifestyle rather than automotive performance to knowledgeable buyers.
How do I make automotive parts look premium?
Three things: rim lighting that traces machined edges precisely, a dark surface that creates contrast and signals quality, and close-up detail shots of the materials and components that differentiate the product. Premium automotive products look engineered, not styled. Precision in the photography signals precision in the manufacturing.
Should I photograph automotive products installed on a vehicle?
Yes — for any product that installs on or in a vehicle, at least one in-context shot is highly valuable. Buyers want to see how the product looks installed, not just how it looks in a box. This is especially important for interior accessories (mats, covers, mounts) and exterior accessories. In-vehicle shots dramatically reduce fitment-related returns.
What camera settings for highly reflective automotive finishes?
A polarizing filter on the lens cuts surface reflections from polished metal and gloss paint. Large, soft light sources reduce the intensity of reflections on chrome surfaces. Shoot in RAW and bracket exposures for difficult chrome and mirror-finish surfaces. A black card just out of frame, reflected in chrome, replaces white room reflections with clean dark areas.
Can I take professional automotive product photos without a camera?
Yes — automotive buyers are evaluating build quality, materials and fitment, and a modern phone can capture all three in the right setup: shoot near a large window or under a daylight-balanced LED, place the part on a dark matte surface (black fabric, carbon-fiber vinyl, dark concrete), and take a close-up of the detail that differentiates your product — the connector, the stitching, the machined edge. For consistent studio-lit results across a whole catalog, AI product photography tools like noprompt.design turn an ordinary phone photo of a car part into a clean, professionally lit product image without writing a single prompt.
How do I photograph auto parts for eBay or Amazon listings?
Buyers on eBay Motors and Amazon compare parts across dozens of sellers, so the first image must answer three questions instantly: what the part is, its condition, and whether it fits. Shoot the full part on a dark, textured surface with rim lighting so machined edges and finish quality are visible, then add a close-up of the connectors, threads or stitching that prove build quality. For installation products — dash cams, phone mounts, floor mats — include at least one in-vehicle shot; fitment confidence is what separates listings that sell from listings that sit.
How do I edit automotive product photos to look professional?
Keep the engineered look. Correct white balance toward a cool daylight tone (5500-6500K) so the part reads as precise and technical, lift shadow detail so machined surfaces stay visible, and remove dust or fingerprints from glossy and chrome finishes — buyers read those as product defects. Avoid heavy HDR or over-saturation: knowledgeable automotive buyers trust photography that shows the part exactly as it arrives, so edit for clarity and accuracy rather than drama.
Related deep-dive: Best background for product photos — clean, neutral backdrops that satisfy marketplace main-image rules.