Product Photography for Bags & Leather
Leather goods photography sells durability and craft through visual evidence. A buyer looking at a handmade leather bag is evaluating the quality of the leather, the precision of the stitching, the robustness of the hardware, and how the piece will age — all through photographs. Every image needs to answer one or more of these implicit questions, which means no angle in a leather goods listing should be wasted.
The category rewards rich detail coverage. A bag photographed from one angle with flat lighting leaves buyers with unanswered questions about construction and quality. A bag photographed from six angles with close-ups of stitching, hardware, and interior tells a complete story that justifies the price and builds purchase confidence.
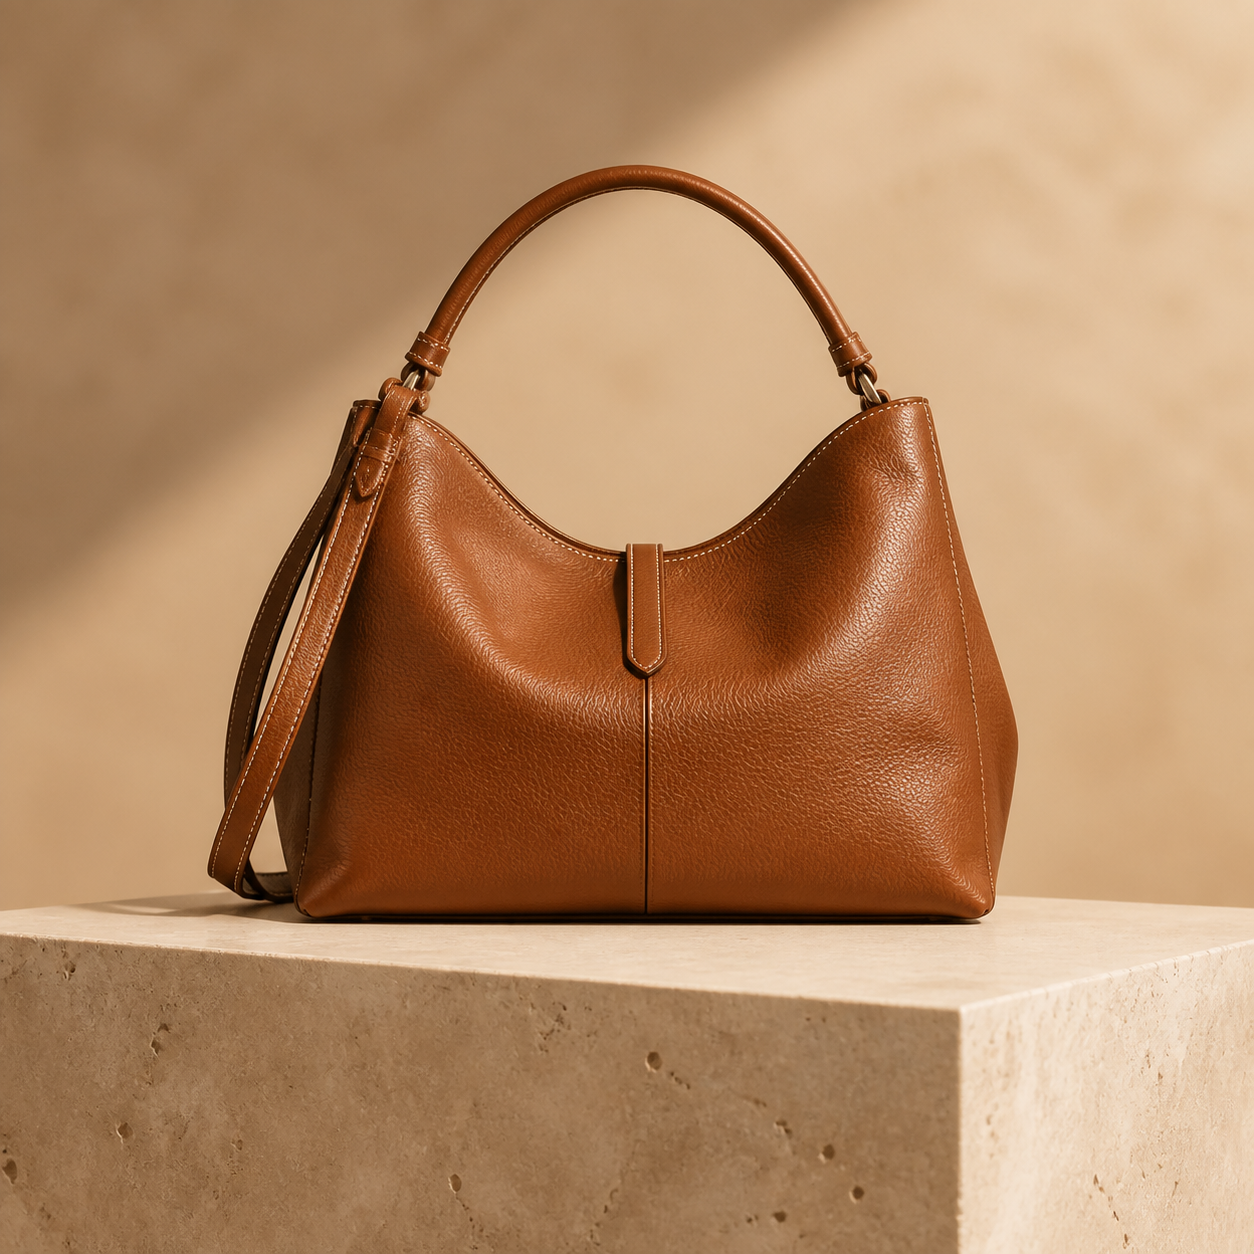
6 tips for bags & leather product photography
Warm editorial light reveals leather grain
Leather is a natural material with visible grain, texture, and character — and these qualities only become visible under directional light. A warm light source placed at 45 degrees from the bag creates a raking light that reveals the grain pattern, any natural markings, and the dimensional quality of the leather. Flat front light hides all of this.
Cover every angle methodically
A complete leather goods listing covers: front (logo and main surface), back, side profile, interior (open), base, and close-ups of at least one hardware detail and one stitching detail. This systematic coverage answers the buyer's questions before they need to ask them and significantly reduces 'not as described' returns and post-purchase disappointment.
Show the hardware quality close up
Zippers, buckles, rivets, and clasps are significant indicators of quality in leather goods. A close-up shot of a solid brass zipper pull or a precisely stitched loop communicates quality that a wide bag shot cannot. For any bag with notable hardware, a dedicated hardware close-up is a high-value secondary image that often influences purchase decisions.
Use stone or neutral pedestals for editorial positioning
Travertine, unpolished marble, raw concrete, or smooth stone surfaces give leather bags the gallery-and-boutique feel that justifies premium pricing. These surfaces provide a platform that elevates the bag slightly and creates a clean transition between product and background.
Show the bag filled and structured
An empty, collapsed bag looks smaller and less substantial than its actual capacity. For structured bags (totes, backpacks, briefcases), fill them lightly with tissue paper before shooting to give them their intended shape. For soft, unstructured bags, natural drape can work beautifully — but collapse is different from drape and should be avoided.
Photograph the interior with good light
Buyers of leather bags care deeply about interior organization — pockets, dividers, card slots, lining quality. A well-lit interior shot that shows every pocket and the lining material is often a deciding factor for buyers who've narrowed their choice to two or three similar products.
Equipment and setup for bags & leather photography
Camera: 50-85mm prime. Lighting: one warm key light (4000K) at 45 degrees for grain revelation; a white reflector card for shadow fill. Avoid flat front light. Backgrounds: travertine or marble slab, unfinished wood, concrete. A bag stand or internal stuffing (tissue paper) to give the bag its intended shape before shooting.
Common mistakes to avoid
- Flat front lighting — it hides the grain and texture that is the primary quality indicator of leather goods. Side or 45-degree light is always better for leather.
- Empty, collapsed bags — they look smaller and cheaper than filled bags. Fill with tissue paper to give shape before every shoot.
- Missing interior shots — the interior organization is often a primary decision factor for buyers. Always include an interior shot in leather goods listings.
Styles that work for bags & leather
In noprompt.design, start with: Warm Minimalist, Marble Luxury, Clean White Studio. Each style is pre-tuned for this product category — no settings to adjust.
Try it free — upload your bags & leather product now
Frequently asked questions
What lighting reveals leather quality best?
Warm, directional light — a soft LED or window light at 45 degrees. This rakes across the leather surface and reveals grain pattern, texture depth, and any natural character markings in the hide. Flat, even lighting hides all of these qualities and makes premium leather indistinguishable from coated faux leather. The texture revealed by side light is often the primary visual argument for natural leather's premium price.
How many angles does a leather bag listing need?
A minimum of six: front, back, side profile, interior (open), base, and one hardware close-up. For premium bags selling direct-to-consumer: eight to ten angles, including both exterior profile views, a lifestyle shot showing scale and use context, and close-ups of any distinctive design elements. More images equals more questions answered equals higher conversion.
What background for leather goods?
Travertine, marble, and raw concrete are the three most effective backgrounds — they communicate gallery and boutique quality. Warm wood works for heritage and artisan-positioned brands. White and cream backgrounds work for catalog-style listings where consistency matters more than atmosphere. Avoid anything that reads as generic or consumer-grade.
How do I photograph black leather without losing detail?
Black leather absorbs light rather than reflecting it. Use more light than you would for lighter leather, and specifically use a side or rim light to trace the bag's edges and create separation from the background. A second fill light facing the dark side of the bag adds detail to shadow areas. Shoot in RAW and carefully lift shadow areas in post without destroying the sense of depth.
Can I take professional leather product photos without a camera?
Yes — the camera is no longer the bottleneck. A modern phone at 2x zoom in warm window light captures enough detail for professional leather photography, because what sells leather is direction of light, full angle coverage, and close-ups of stitching and hardware — not sensor size. For consistent studio-grade results across a whole catalog, AI product photography tools like noprompt.design turn an ordinary product photo into clean, professionally lit leather images without writing a single prompt.
How do I photograph leather goods for Etsy?
Etsy buyers are shopping handmade, so honesty and warmth beat sterile studio looks. Shoot in warm natural window light on a consistent neutral surface (cream, wood, or concrete) so your shop reads as one brand. Include the six core angles — front, back, side, interior, base, hardware close-up — plus a stitching close-up and a scale or lifestyle shot. Stained or vegetable-tanned leather benefits from a texture close-up, since visible grain is what justifies the handmade price point.
How do I edit leather product photos to look professional?
Edit for texture and tone, not drama. Lift shadows gently on black and dark leather so grain stays visible without looking washed out; add a small texture or clarity boost to make stitching and natural markings read clearly; and keep color temperature consistent across the listing (warm 4000K daylight is the leather-friendly default). Remove or soften busy backgrounds for marketplace catalogs, but keep honest surface texture — over-smoothing is what makes leather photos look fake.
Related deep-dive: How to take product photos without a camera — a phone plus window light is enough for most leather goods.