Product Photography for Food & Beverage
Food photography is appetite engineering. The goal isn't to document how a product looks — it's to make the viewer want to eat it. This requires understanding how light, color, texture, and composition trigger the brain's appetite response, and then deliberately engineering those responses into a product photo.
Packaged food and beverage have an additional layer: they need to simultaneously make the contents look delicious AND make the packaging look credible and trustworthy. A craft jam photographed with warm window light on a rustic wooden surface tells a story of small-batch handmade quality. The same jar under cool fluorescent light on a white surface looks like a private-label product. Light, surface, and context do more narrative work in food photography than in almost any other category.
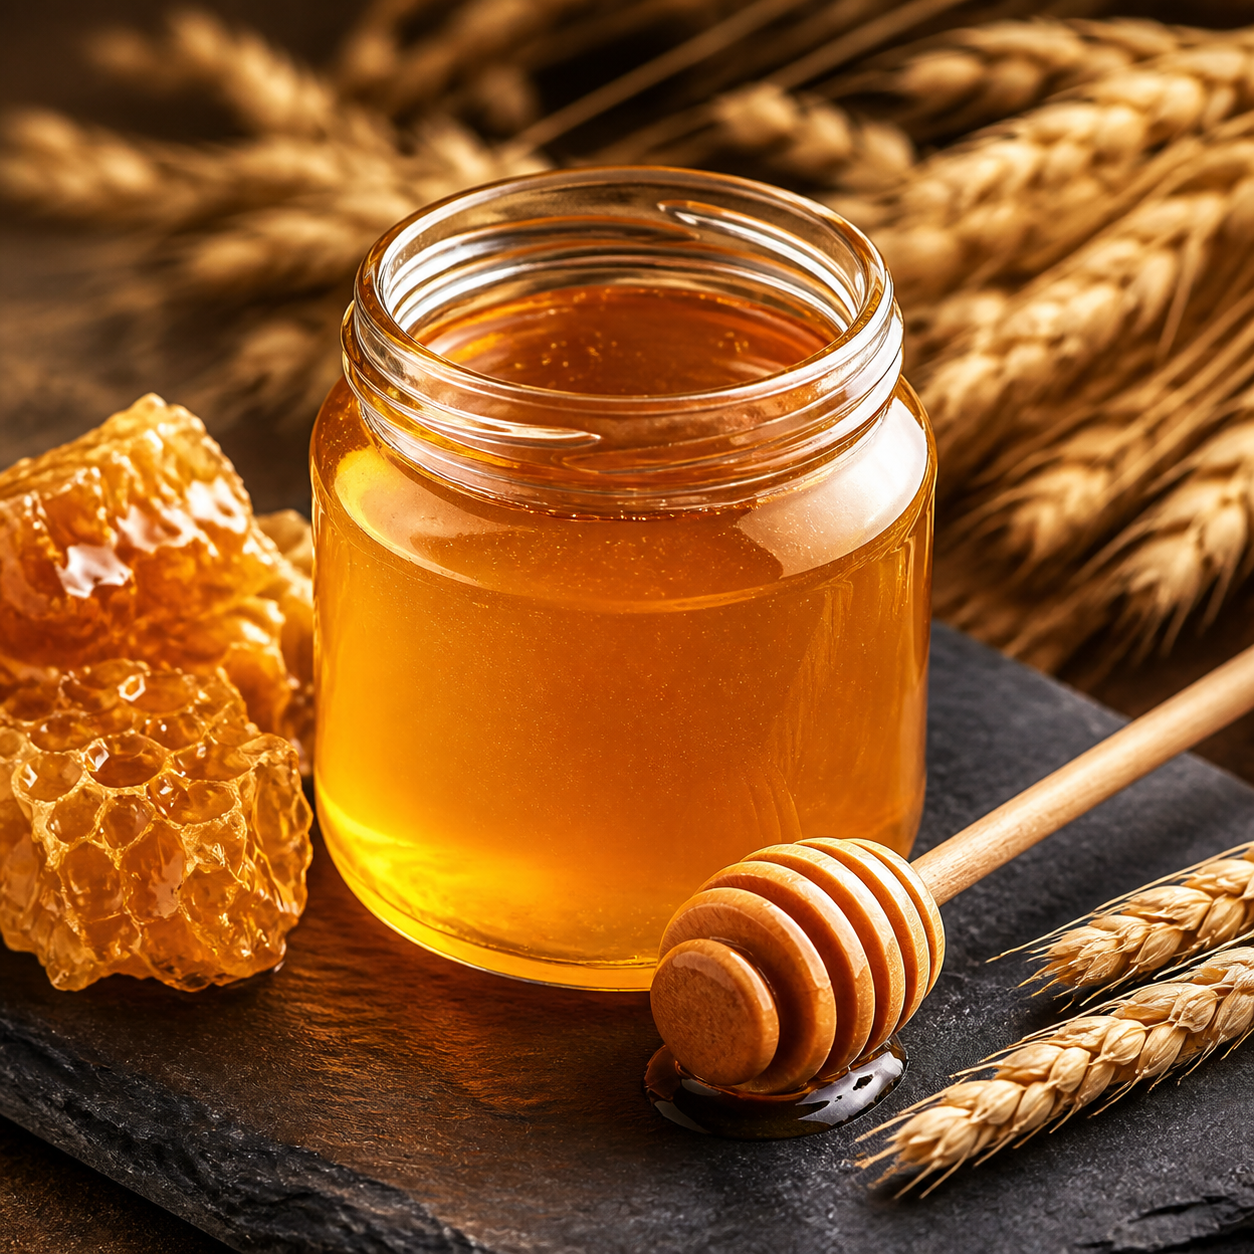
6 tips for food & beverage product photography
Always shoot with warm, directional light
Warm light (3500-4500K) makes food look appetizing. Cool light (6000K+) makes it look clinical and unappetizing. Directional light from a window or a softbox at 45 degrees creates highlights and shadows that reveal texture — and texture is what makes food look genuinely delicious. Flat, even lighting eliminates texture and flattens food.
Use natural surfaces, not white studio backgrounds
Rustic wood, slate, linen, marble, and terracotta all read as artisanal and handmade. White studio surfaces read as mass-produced grocery store product. For craft and premium food brands, the surface is a significant part of the brand story — choose a surface that matches the product's personality and quality positioning.
Controlled imperfection sells better than perfection
A perfectly arranged product with no context reads as artificial. A jar of jam with a slightly tilted label and a fresh berry beside it reads as genuinely artisan. A small amount of product smeared or drizzled nearby communicates what the contents actually are. Intentional imperfection reads as authentic to modern food buyers.
Shoot 45 degrees for bottles and jars
The 45-degree three-quarter angle is standard for packaged food because it shows label, top, and body simultaneously — everything the buyer needs to evaluate the product. Top-down works for flatlays and wide shots with multiple products. Side-on and dead-straight-front shots hide too much visual information about the packaging.
Add hero ingredient hints to the frame
A cookie tin photographed with two or three cookies beside it tells a story the packaging alone cannot. Whole coffee beans beside a bag of coffee. Fresh herbs beside a sauce. Ingredient hints make the product's contents concrete and the quality legible — even when the buyer can't taste or smell the product through a screen.
Match the surface to the product's story
Artisan and small-batch products should look handmade. Mass-market brands need to look consistent and professional. Don't use rustic styling for a product meant to feel modern and precise, or vice versa. The visual language of the surface, light, and props should reinforce — not contradict — the brand's core positioning.
Equipment and setup for food & beverage photography
Camera: 50-85mm lens for the most natural, non-distorting view of food products. Lighting: a large north-facing window with a sheer curtain for diffusion, or a 60cm softbox at 45 degrees. Reflector card on the shadow side to fill without flattening. Backgrounds: wood boards, slate sheets, and linen fabric cover 90% of food photography needs.
Common mistakes to avoid
- Overhead lighting only — it flattens food and eliminates the texture that makes it look edible. Always use directional side or window light as the primary source.
- Too-perfect styling — symmetrical, spotless arrangements look artificial. Controlled imperfection (a scattered crumb, a slightly angled label) reads as authentic.
- Wrong surface for the brand — rustic wood for a modernist brand, or white studio for an artisan brand, creates a visual contradiction that undermines buyer trust.
Styles that work for food & beverage
In noprompt.design, start with: Rustic Artisan, Natural Light Window, Warm Neutral Lifestyle. Each style is pre-tuned for this product category — no settings to adjust.
Try it free — upload your food & beverage product now
Frequently asked questions
What makes food product photography look premium?
Three elements: warm directional light, an appropriate natural surface, and ingredient hints. Warm light makes food look appetizing; a surface like wood or marble signals artisan quality; showing a hint of the product's ingredients makes the contents real and desirable. Premium food brands invest heavily in all three elements together.
Top-down or 45-degree angle for packaged food?
45 degrees is the default for individual products — bottles, jars, cans — because it shows label, top, and body simultaneously. Top-down works for flatlays with multiple products, flat items like chocolate bars or wrapped goods, and for showing contents in an open container. Most complete listings need both angles.
What backgrounds work for craft food brands?
Reclaimed wood boards, slate sheets, linen fabric, marble, and terracotta are the working palette of food photography. Reclaimed wood is the most versatile — it works for savory, sweet, beverage, and snack products across most brand aesthetics. Slate suits tea, coffee, and sophisticated savory products. Marble suits premium confections.
How do I photograph transparent bottles and jars?
Backlight them. Place a light source directly behind the jar so light passes through the glass and illuminates the contents from within. This makes honey glow amber, jam glow red, and oil glow gold. Add soft front fill so the label doesn't disappear into shadow. A second light to the side adds depth to the glass body.