Product Photography for Eyewear
Eyewear product photography has to overcome a fundamental limitation: buyers cannot try on glasses before they buy them online. This means the photographs need to work twice as hard — they need to show what the glasses look like on a face, how the frame design works from multiple angles, what the lens color and quality are, and how the construction quality compares to alternatives, all without the buyer ever touching the product.
The category has well-established conventions that exist because they work. The three-quarter angle at eye level is standard because it replicates how people see glasses on a face. Rim light that traces the frame outline is standard because it reveals the frame's precise shape and construction quality. Close-up lens shots are standard because lens color is often the primary purchase decision.
6 tips for eyewear product photography
Shoot at the three-quarter angle as the hero
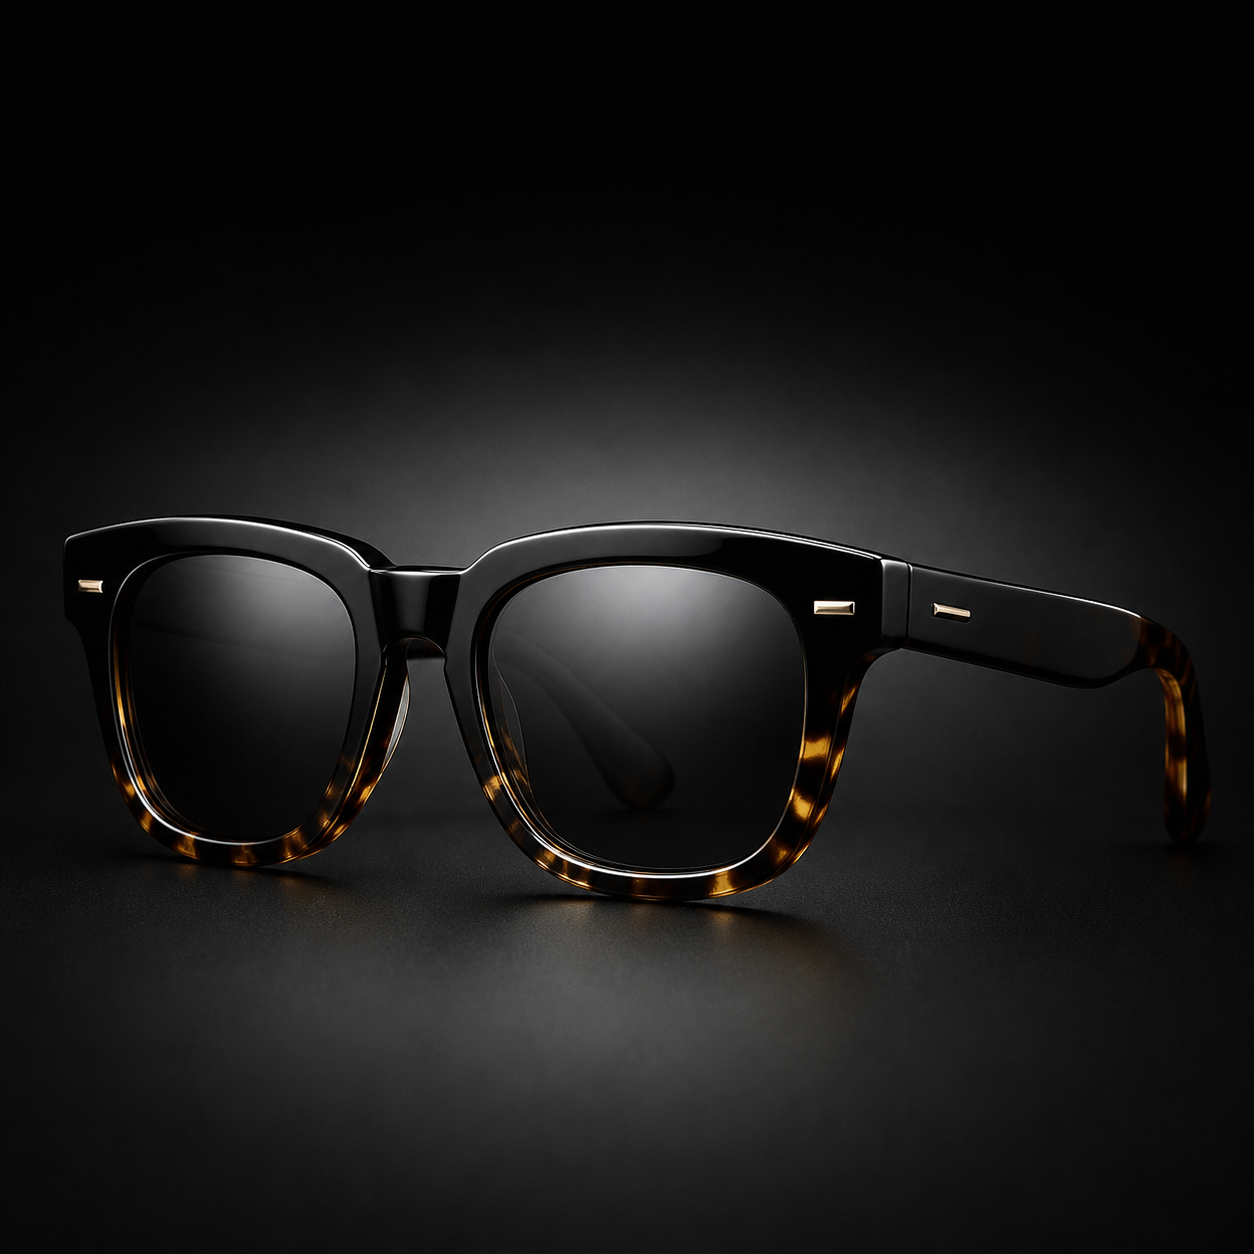
A three-quarter angle — about 30-45 degrees rotated from dead-on front, shot at eye level — shows the frame's shape, the temples, the lens form, and the bridge profile simultaneously. This is the angle at which people see glasses on another person's face, which makes it the most intuitive and informative angle for eyewear buyers. It's the category standard for a reason.
Use rim light to define frame edges precisely
A thin strip LED behind and slightly to the side of the glasses traces the frame's edges with precision, revealing the exact quality of the acetate cutting, the hinge placement, and the frame's proportions. For metal frames, rim light creates the edge glow that communicates machined precision. It's the signature technique for premium eyewear photography.
Show lens color accurately
Lens tint and color are often the primary purchase criterion for sunglasses. Any color shift in the photograph — making amber lenses look orange, or green lenses look blue — leads to disappointed buyers and returns. Shoot in RAW, calibrate white balance, and check lens color accuracy on a calibrated monitor before finalizing images.
Dark gradient backgrounds work best for sunglasses
Dark gradient backgrounds — charcoal to black, or deep navy to black — create the premium, editorial look that the eyewear industry uses consistently. They provide contrast that makes acetate colors pop and metal frames gleam, and they communicate that these are fashion objects rather than commodity products.
Include a lifestyle shot with a person wearing the glasses
No product shot fully replicates what glasses look like on a face. A lifestyle image — model wearing the glasses in a relevant setting — dramatically increases buyer confidence and conversion for eyewear above entry price points. Even a simple editorial-style shot of the glasses worn on a neutral background is more informative than a product-only shot.
Close-up shots of hinges and nose pads signal quality
The mechanical details of eyewear — spring hinges, barrel hinges, nose pads, rivet details — are significant quality indicators for buyers who know what they're evaluating. Close-up shots of a solid spring hinge or precise barrel hinge communicate construction quality that a wide frame shot cannot. These detail shots often appear in buyer reviews as the images that sealed the deal.
Equipment and setup for eyewear photography
Camera: 50-85mm prime for precise perspective at eyewear scale. Lighting: a key light from slightly above, plus a narrow strip LED behind the frame for rim light. A second reflector card on the shadow side for fill. Backgrounds: dark gradient fabric or paper, or a printed dark gradient. A small posing stand or folded card to hold glasses at the correct angle consistently.
Common mistakes to avoid
- Straight-on front shots — they make frames look flat and two-dimensional. The three-quarter angle reveals shape and form far more effectively for eyewear buyers.
- Inaccurate lens color — color shifts in the photograph lead to disappointed buyers and costly returns. Calibrate the entire workflow for accurate tint reproduction.
- No on-face context — buyers cannot judge fit, proportion, or face-mapping from a floating product shot alone. Include at least one worn or on-face contextual image.
Styles that work for eyewear
In noprompt.design, start with: Gradient Tech, Neon Dark, Clean White Studio. Each style is pre-tuned for this product category — no settings to adjust.
Try it free — upload your eyewear product now
Frequently asked questions
What's the best angle for photographing glasses?
Three-quarter angle at eye level — about 30-45 degrees rotated from dead-on front, shot at the same height as the frame. This replicates the angle at which you'd see glasses on another person's face and reveals frame shape, temple design, bridge profile, and lens form simultaneously. Add a dead-front shot for completeness, and a side profile to show the temple and hinge.
How do I light glasses without reflections in the lenses?
Position lights so their reflections fall in the frame area (above or beside the lens) rather than directly in the lens face. Use a polarizing filter on the lens to reduce surface reflections. Black cards placed just outside the frame, reflected in the lens surface, replace white ceiling reflections with clean dark areas. For tinted lenses, this is especially important.
What background works for premium eyewear?
Dark gradients are the category standard for premium sunglasses — deep charcoal to black communicates fashion and precision. For optical frames where clarity and accuracy matter more than drama, a medium grey background works better. White backgrounds are used for catalog-style listings where consistency across a large SKU catalog is more important than individual image impact.
How many images does an eyewear listing need?
Minimum five: three-quarter hero, dead-front, side profile, lens close-up (for sunglasses), and one hinge or detail close-up. For premium brands selling direct-to-consumer: add a worn or lifestyle shot, a back-of-frame shot showing the temple printing, and a case or accessories shot. Ten to twelve images is typical for premium eyewear listings that convert well.
How do I photograph sunglasses for an online store?
Lead with a three-quarter angle at eye level as the hero, then add a dead-front shot, a side profile, and a lens close-up that shows the actual tint. Use a dark gradient background — charcoal to black — so acetate colors pop and metal frames gleam. A worn or lifestyle shot lifts conversion noticeably for sunglasses above entry price points.
Do I need a model to photograph eyewear?
A model helps for premium positioning — an on-face shot answers fit and proportion questions no product-only shot can. It isn't required to start: a consistent three-quarter hero, side profile, and hinge close-up sell optical frames well on their own. Add a worn shot later when a model is available.
How should optical frames differ from sunglasses shots?
Optical frames need clarity: medium grey or white backgrounds, a dead-front and side profile, and reflections minimized so buyers can judge the frame accurately. Sunglasses benefit from drama: dark gradients, a strong three-quarter hero, and close-ups that show the tint color accurately. Optical listings sell fit and clarity; sunglass listings sell style and color.
Related deep-dive: How to photograph glass bottles without glare — the same glare-control technique applies to frames and lenses.