How to take product photos at home?
You need three things: a large window for light, a clean background, and a stable phone. Place the product within two to three feet of the window so soft daylight falls across it, use white poster board as the background and as a reflector on the shadow side, and shoot in daylight with the phone on a tripod or propped against a mug. That setup produces listing-ready photos for nearly every product category — no studio, no flash, no editing skills required.
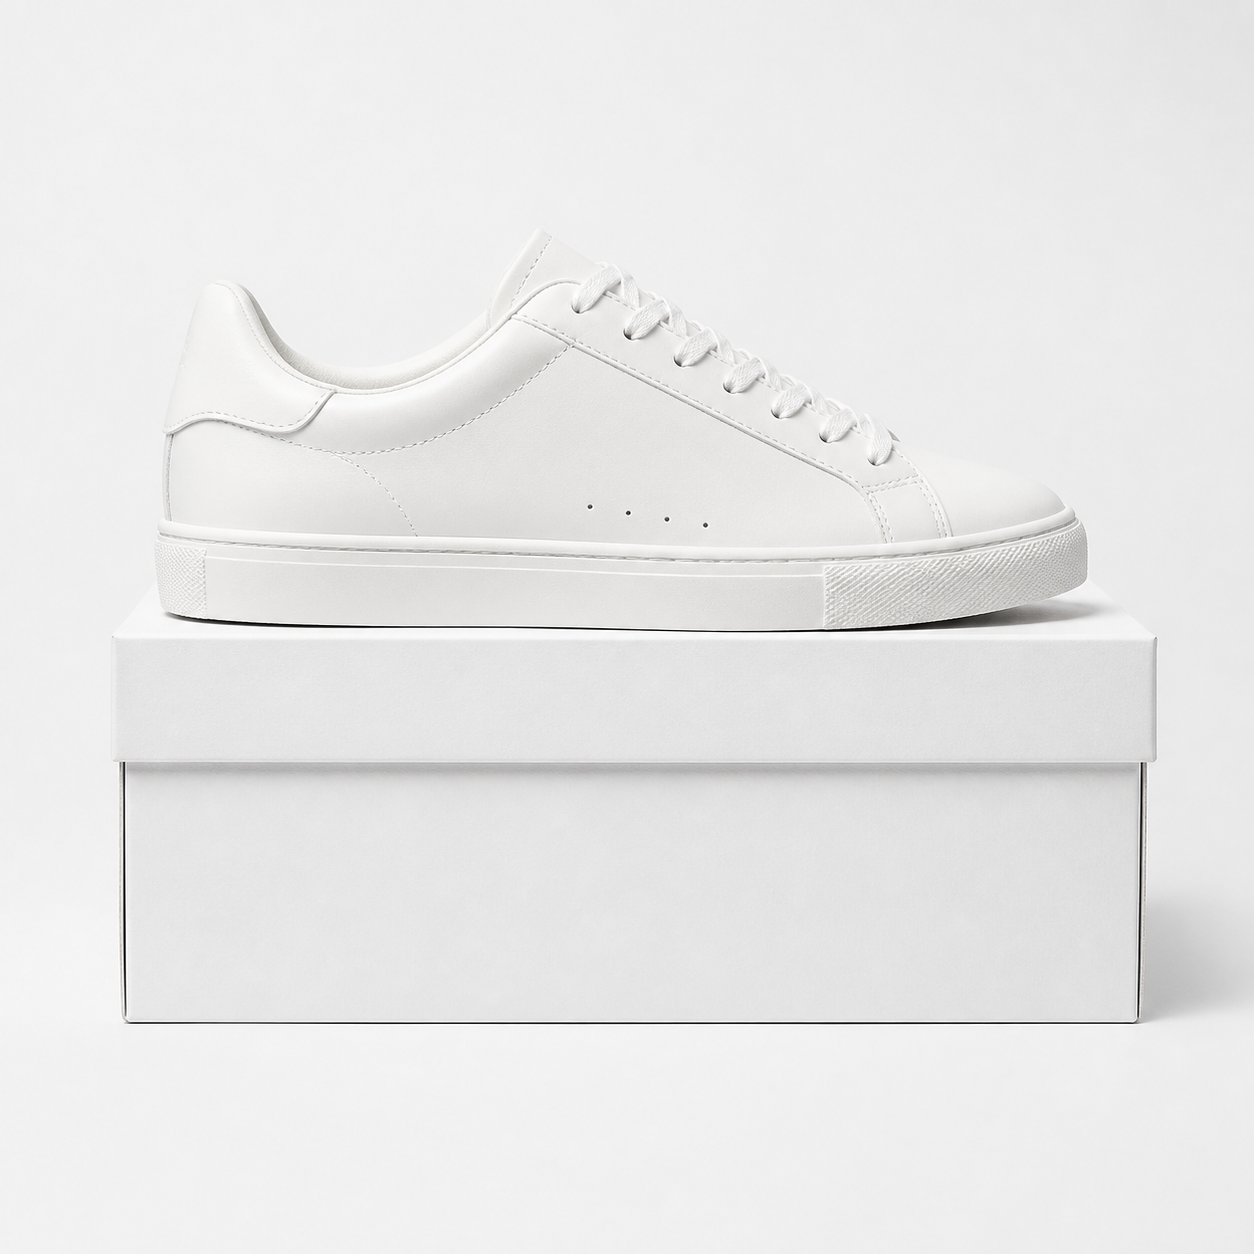
Set up near a window
The single biggest quality upgrade is moving the product next to a window. Window light is soft, directional, and free. Place the product on a table within two to three feet of the glass, with the window to the side (not directly behind the camera), so light rakes across the product and reveals texture.
North and east-facing windows give the most consistent light. Direct midday sun is too harsh — if that's all you have, hang a sheer curtain or a white bedsheet over the glass to diffuse it.
Use white poster board for background and fill
Two pieces of white poster board ($3 each) solve most background problems: one laid flat under the product, one standing behind it as a sweep. The corner where they meet disappears in the photo, giving a clean seamless look.
A third piece of white board on the shadow side acts as a reflector, bouncing window light back into the product's dark side. This one trick removes most of the 'harsh shadow' complaints from phone photos.
Stabilize the phone
Blur is the most common failure in phone product photography, and it's almost always camera shake, not autofocus. Prop the phone against a mug, use a cheap tripod with a phone mount, or set a 3-second timer so the camera settles before the shutter fires.
Tap the product on the screen to lock focus and exposure before shooting. If your phone lets you drag the little sun icon down, do it — slightly underexposed phone photos recover better than blown-out ones.
Shoot in daylight and keep the phone level
Turn off the overhead lights and shoot in natural daylight. Mixed indoor lighting (warm lamp + cool window) makes white backgrounds look yellow and is the top reason home photos look amateur.
Hold the phone parallel to the product's front face and shoot slightly above it — the classic 15-20 degree downward angle. Tilting the phone up or down distorts the product's shape.
Take more angles than you think you need
A complete listing set is: straight-on hero, 45-degree three-quarter, top-down, one scale shot (hand or coin beside the product), and one close-up detail. Even on a phone, five deliberate angles beat thirty rushed ones.
Frequently asked questions
Do I need a camera for product photos, or is a phone enough?
A modern phone is enough for most e-commerce listings. Phones now shoot 12-48MP with excellent dynamic range, and buyers evaluate lighting and composition far more than sensor size. A camera only matters for extreme detail (jewelry macro shots) or when shooting dozens of products where a consistent studio setup pays for itself.
What's the cheapest way to set up a home product photo studio?
Under $15: two white poster boards, a roll of painter's tape, and window light. Under $50: add a basic phone tripod with ring light (used only as fill, not key light). That setup covers flat lays, hero shots, and detail shots for most products.
Why do my product photos look yellow or dark?
Yellow usually means mixed lighting — indoor lamps competing with window light. Dark usually means the phone metered on the bright background instead of the product. Fix both by turning off indoor lights, shooting near a window in daytime, and tapping the product on screen to lock exposure.